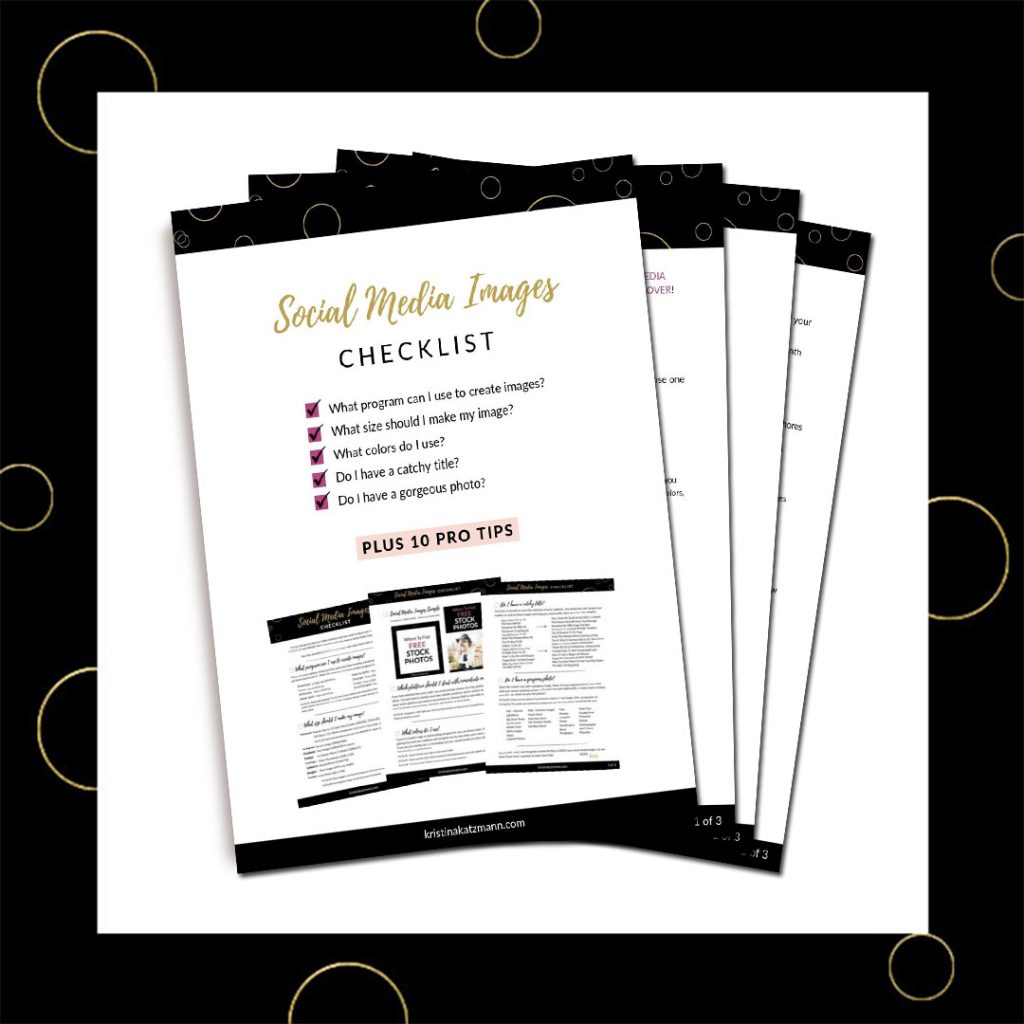
Who wants to save time in their online business? I do. I do!
You need to get your social media images done, so you can either hire it out or you can do it yourself and ‘BATCH’ the process of creating!

What exactly does ‘Batch’ mean?
According to the dictionary, a batch is a completed group, collection, or quantity of something.
When creating social media images and to complete a grouping of social media images, I follow these 3 steps.
1. Create a list of images you need to make.
a. This list can be 10 pins for all of or a combination of your latest blog posts, your most popular posts, pages from your website (portfolio, recommendations, home page), products you’ve created, or whatever else you want to highlight on Pinterest to encourage people to your website.
b. Or it could be ALL the images you need for one post – your in-post images, Pinterest pin (or three or four), an Instagram image, and a Facebook image.
c. Or I sit down once or twice a month to plan out my Instagram posts. I batch together all images for two weeks or, if I’m feeling energetic, I create squares for 30 days – read about that HERE.
In this example, I am batching all of the images I need for one blog post.
My List of Images Needed:
1. Two Instagram squares (I also use the square IG image for Facebook!).
2. Post featured image squares.
3. Three pins from different templates.
4. Fifteen in-post images (I use one of the pins as my main image within my post).

2. At one time, find the photos you will use for all images.
I use some free images (see my list of FREE image sites HERE) and have purchased images. There have been times that I purchase a monthly subscription or just a certain amount of images from a paid membership stock photo site (see my list of paid membership sites HERE).
Most of the photos from this post were found at Pixabay.com – all royalty-free images that did not cost me a penny.

3. Create the images in one sitting.
I use Photoshop for myself and most of my clients. I do have clients that I go into their Canva account to create images for them each month. There are many other platforms you can use to create images. Here are a few:

My advice is to get a free service like Canva (sign up HERE), get in there to create images which will get you comfortable with this tool, and get ‘er done.
a. I normally start with my Instagram images (1080×1080 pixels).


For some of my client’s IG images, they only need a photo (perhaps of their recipe) and a logo. For each blog post, I create IG images that have only text and this border. I use many other templates for my IG – you can read that HERE.
I make a pink and a black outline so that I can use it twice and one of them with an alternate title.
b. Then I make it smaller for a featured image square (500×500 pixels).


I never know which color I might need for my blog layout (see HERE), so it takes just a couple steps more the create a second square with a saved pink border template.
c. Next I create the pins (1000×1500 pixels).
You can read more about pin sizes HERE.
It’s my advice, when you are able, to create THREE or more pins per post. I have three templates right now. This allows me to pin about this post three times more often because of these different looking pins.


When I create the first pin from a saved template, I open it up and change the text and photo.
For the text, I copy and paste the title from the Instagram image to my pin template. I adjust the size and spacing of the text. This saves a bunch of time.
For the photo, I’ve already found all the photos, so I open the one that I need, copy the photo, and paste it into my pin. I adjust where I want it and adjust the light or clarity of the photo.
You should always include the name of your company, your logo, or the URL.
Why?
1 We want our pins to represent our business.
We want people to know our company name. We want them to recognize our name, logo, colors, font, and style – our branding.
This recognition helps build a comradery and a trust.
I know the name of my favorite online businesses and when I see them on Pinterest or Insta, I click on them to see what they are up to. I want to see what product or valuable info they are sharing.
2 Because people steal pins.
They use other people’s images and link them to their website. Bad people are going to do bad things. I want my name on a pin so that if it is stolen, someone clicking on my pin is going to see that the name on the pin is not leading them to my website.
Pro Tip on URLs:
Never include the ‘https://’ from your URL – https://kristinakatzmann.com
Never include the ‘www’ on social media images – http://www.kristinakatzmann.com
Never include the whole link to a post – https://kristinakatzmann.com/how-do-i-batch-my-social-media-images/
Just use the name or text and [dot] com – kristinakatzmann.com
Your business name is only on your social media for branding and for recognition. It does not link people to your website… you do that within the social media platform. When you entice someone to click on your social media and go to your site, your site, then, should be doing it’s job – to keep people engaged on your site and lead them to what you want them to do.
d. I create my in-post images.
Use whatever size your website requires. My in-post images are 800×300 pixels.
For THIS POST, I am listing 15 sites that offer stock photo memberships. So, I created 15 images with the name of each site.


The text is all the same size. I went in and changed the name and the photo. Very fast since I have my photos all picked out.
e. Create any other images you need – Facebook, Linked In, YouTube, Podcast, etc.
f. Compress your photos
So that is how you ‘BATCH’ your photos. I get all of my social media images created in one sitting.
You can save time by gathering a list of what you need first, searching for photos in one shot, and creating your ‘batch’ of images all at one sitting.
Try it out and let me know how much time you saved.
Happy Designing,
![]()